Table of Contents
Accidentally put a doorknob through the drywall? Tried hanging shelves and ended up with Swiss cheese? Don’t panic—and don’t call a contractor yet. Patching drywall holes is a shockingly simple DIY job that costs under $20 and requires zero professional skills. Whether it’s a nail hole, a fist-sized gap, or a jagged crack, this guide will turn you into a drywall repair ninja.
Why DIY? The Staggering Cost Savings
Contractors charge $200–$500 to patch a single hole. But with $15 in supplies and 2 hours, you can fix it yourself and gain lifelong skills. Let’s get started!
Step 1: Assess the Damage (Size Matters!)
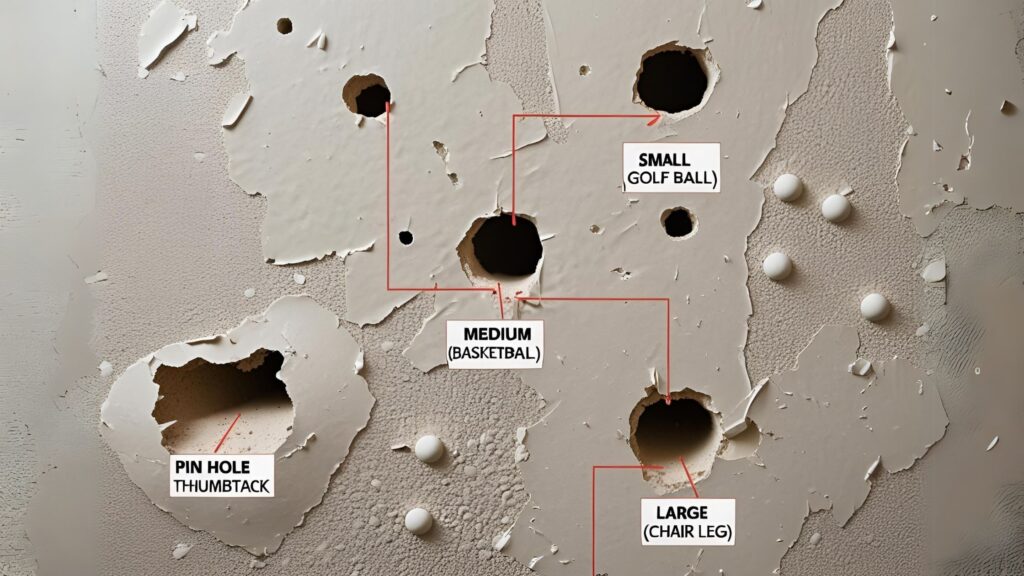
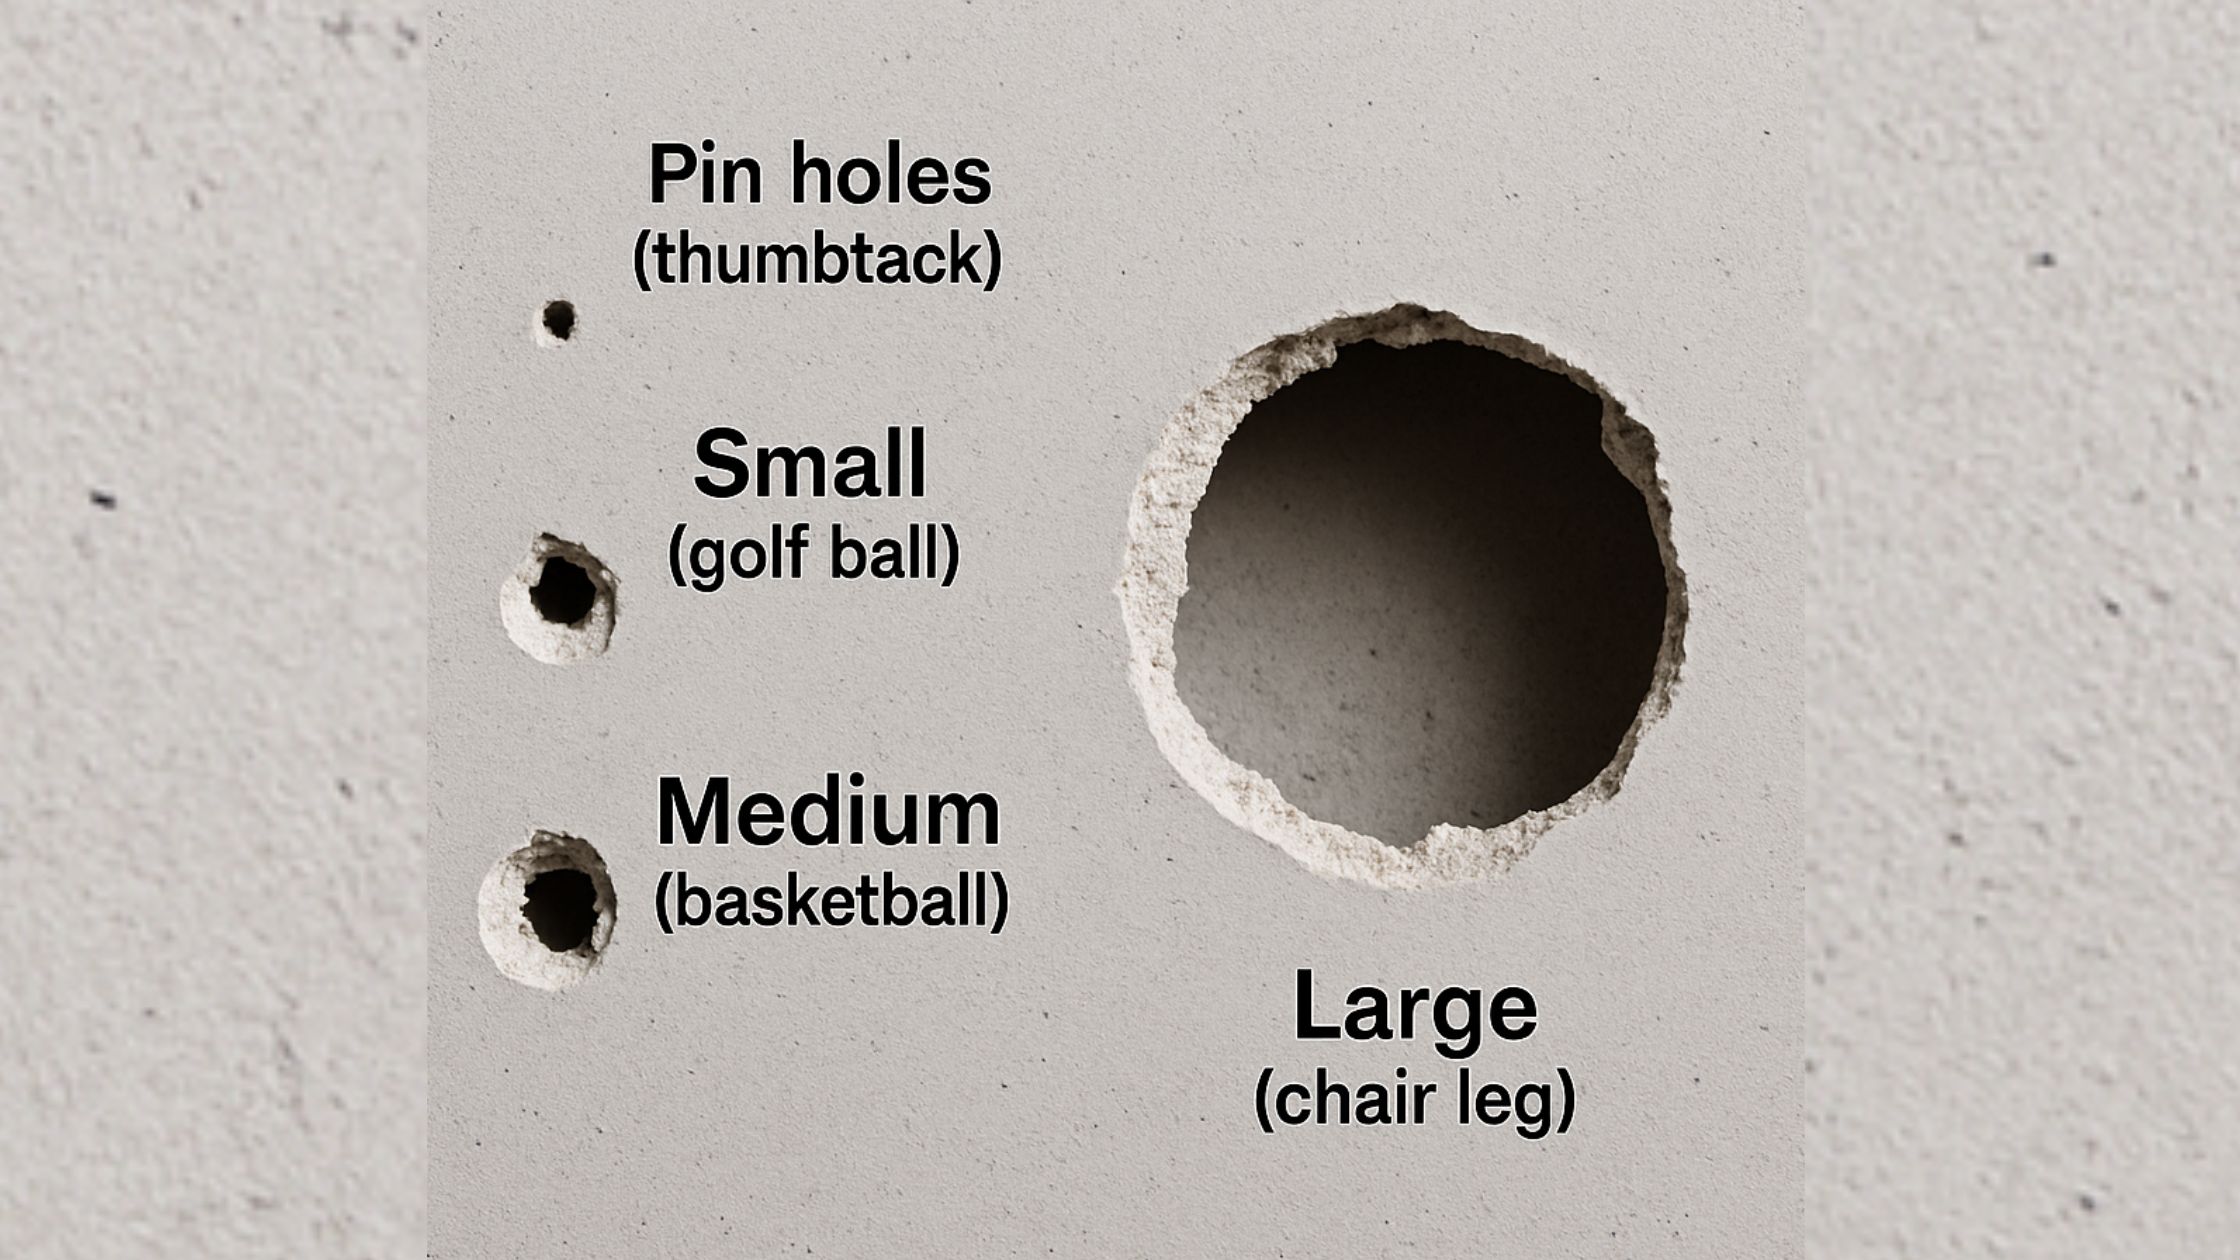
Drywall repairs fall into 4 categories:
- Pin Holes (<1/4”): Nails, thumbtacks.
- Small Holes (1/4”–3”): Doorknobs, anchors.
- Medium Holes (4”–6”): Fists, elbows.
- Large Holes (6”+): Furniture, kids’ “experiments.”
▶ Pro Tip: Use a tape measure! Repair methods change drastically at the 3-inch mark.
Step 2: Gather Your Tools & Materials
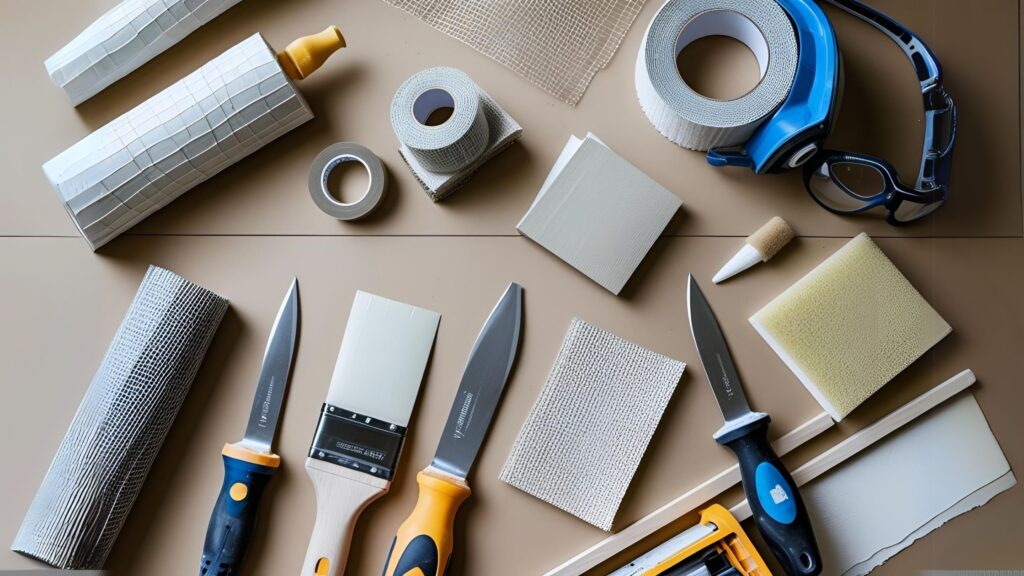
| Basic Supplies | For Holes 4”+ |
|---|---|
| Spackle or joint compound | Drywall patch kit |
| 2” putty knife | Self-adhesive mesh tape |
| Sandpaper (120-grit) | Drywall screws |
| Primer & paint | Wooden backing strip |
Budget Hack: Use a cereal box as a backing strip for holes up to 4” (more below).
▶ External Resource: Lowe’s Drywall Repair Buying Guide
Step 3: Repair Methods (By Hole Size)
A. Pin Holes & Small Cracks
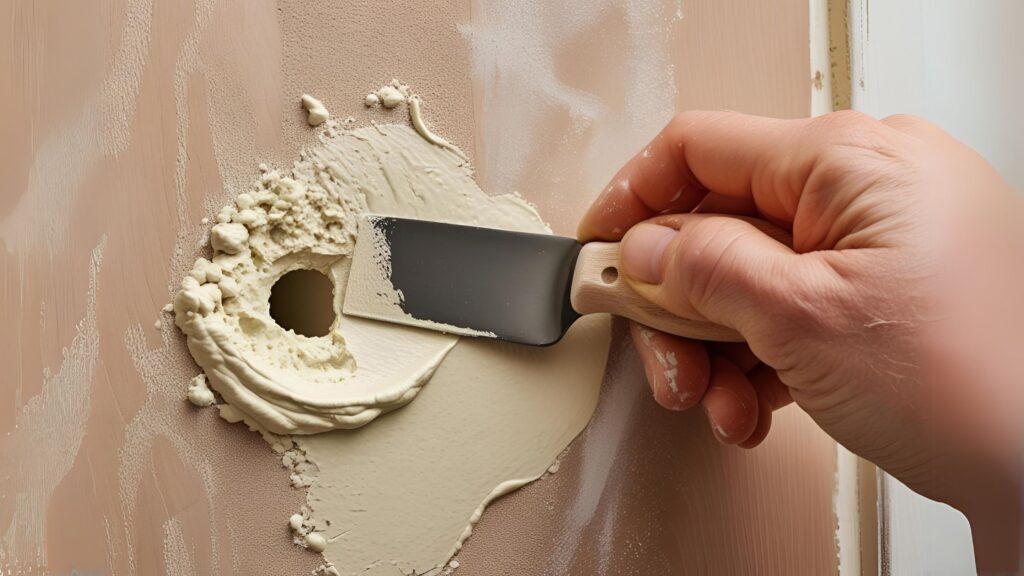
- Fill: Press spackle into holes with a putty knife.
- Scrape: Level excess with the blade.
- Sand: Lightly smooth once dry (20–30 mins).
▶ Pro Tip: Use lightweight spackle—it dries fast and doesn’t shrink!
B. Small to Medium Holes (1”–6”)
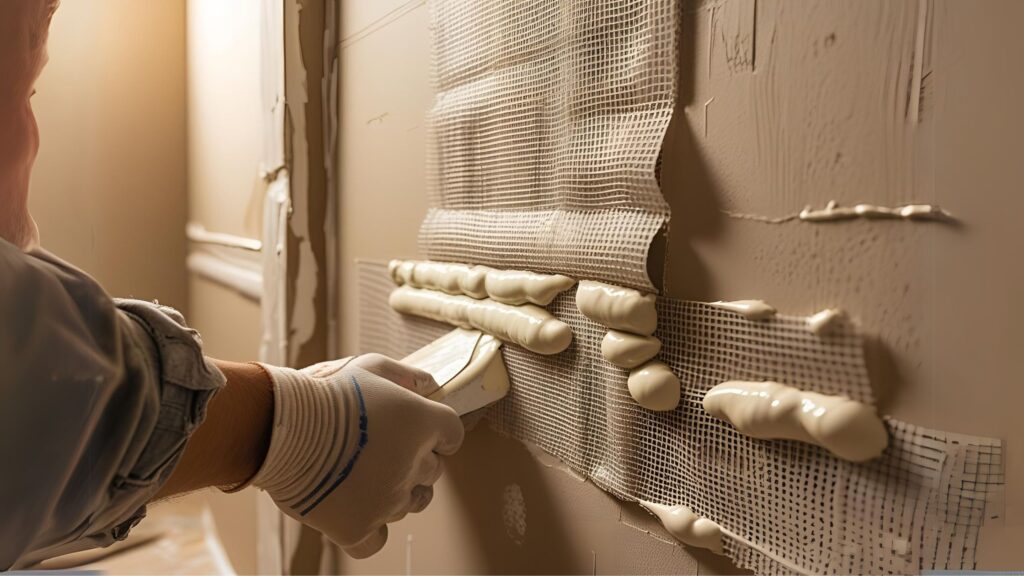
- Clean: Cut away loose debris with a utility knife.
- Patch: Apply self-adhesive mesh tape over the hole.
- Mud: Spread 3 thin layers of joint compound, feathering edges. Sand between coats.
Cereal Box Hack (No Patch Kit):
- Cut a piece of cereal box larger than the hole.
- Tie string through its center, dab with spackle, and slide into the wall.
- Pull tight, let dry, then cut the string. Patch as above!
C. Large Holes (6”+)
- Backing: Insert a wooden paint stirrer or strip behind the drywall. Screw it into place.
- Cut Patch: Trace hole shape on new drywall, cut slightly smaller.
- Attach: Screw patch to backing. Tape seams, apply 3 mud coats.
▶ Critical: Always screw—never glue—your patch. Glue causes bubbles!
▶ External Resource: Home Depot’s Drywall Repair Tutorial
Step 4: Sanding & Painting Like a Pro
- Sanding: Use 120-grit sandpaper in circles until smooth. Wear a mask!
- Prime: Seal with stain-blocking primer (prevents “ghost patches”).
- Paint: Match existing paint. Feather paint 6” beyond the patch.
▶ Pro Tip: Rub a candle on your putty knife—spackle glides off effortlessly!
5 Common Mistakes to Avoid
- Skipping Primer: Unprimed patches absorb paint differently → shiny spots.
- Over-sanding: Creates divots. Sand just until smooth.
- Thick Mud: Shrinks and cracks. Apply thin layers!
- Ignoring Dust: Cover furniture and floors—drywall dust is invasive.
- Rushing Drying Time: Wait 24 hrs between mud coats.
▶ External Resource: Creative Drywall Hacks from A Beautiful Mess
When to Call a Contractor
DIY works for 95% of holes, but call a pro for:
- Structural damage (cracks wider than 1/4”).
- Water-damaged drywall (indicates mold/leaks).
- Textured ceilings (e.g., popcorn)—matching is tricky.
FAQs
Q: Can I use toothpaste to patch holes?
A: Only for tiny holes in a dorm room emergency! It yellows and crumbles.
Q: How long until I can hang art on a patched spot?
A: Wait 1 week for full curing. Use anchors for heavy items.
Q: Why does my patch look bumpy?
A: You skipped sanding between coats. Sand each layer lightly!
Final Takeaway: You’ve Got This!
Patching drywall isn’t rocket science—it’s spackle science. With $15, patience, and this guide, you’ll fix holes invisibly and pocket hundreds. Remember: Feather edges, sand gently, prime religiously. Now grab that putty knife and reclaim your walls!
Got a drywall horror story? Share your before/after pics in the comments below!